Installer
From Joomla! Documentation
This page has been archived. This page contains information for an unsupported Joomla! version or is no longer relevant. It exists only as a historical reference, it will not be improved and its content may be incomplete and/or contain broken links.
This page is tagged because it NEEDS REVIEW. You can help the Joomla! Documentation Wiki by contributing to it.
More pages that need help similar to this one are here. NOTE-If you feel the need is satistified, please remove this notice.
Using the the Joomla! Installer[edit]
Once your files have been uploaded to the hosting space using an FTP client, it is time to install Joomla!.
First open an Internet Browser and type in the address of your Joomla! installation directory. For example:
yourdomain.com/joomlainstallationdirectory
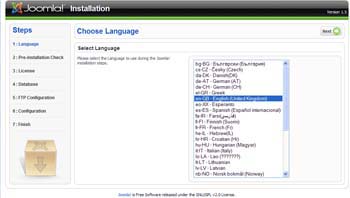
Screen 1:
After the correct address is entered, the image below will appear. Joomla! has redirected you to the /installation subdirectory.
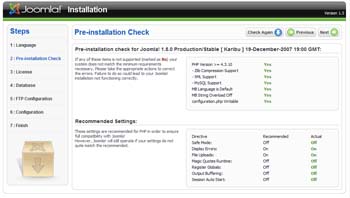
Screen 2:
Click 'Next' and Joomla! displays the Pre-Installation Checklist. Specific details relating to PHP settings are outlined here. To proceed with the installation, all the lights should be green.
Explanation about terms: (TECHNICAL REVIEW NEEDED OF THIS EXPLANATION)
- PHP version must be over 4.3.10
- Must be set to YES
- Your webserver's PHP version must be over 4.3.10
- Zlib compression support
- XML support
- MySQL support
- Directive Mbstring language by default
- Directive Mbstring overload deactivated
- configuration.php Modifiable
- Create a file named configuration.php on root or rename the default one from the package(configuration.php-dist)
- Chmod this file 777
- Safe Mode
- Display Errors
- File Transfer
- Magic Quotes Runtime
- Register Globals
- Output Buffering
- Session Auto Start
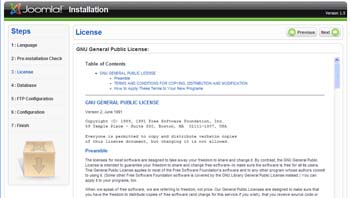
Screen 3:
Click 'Next' and the licence prompt below will appear.GNU/GPL
Screen 4:
Click 'Next' to enter the Database specifics. Guidelines are provided on the right-hand side to assist in completing the text fields properly. Please note that all data must be entered correctly to avoid errors.
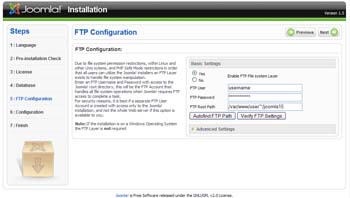
Screen 5:
Click 'Next' to enter the FTP settings. This allows Joomla! to operate in a more secure way, eliminating the need for PHP to handle file upload requests. Note: The FTP layer is not necessary on Windows servers.
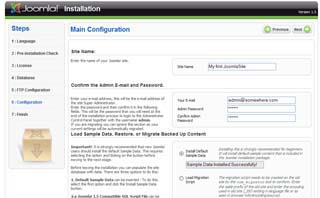
Screen 6:
Click 'Next' to enter the Main Configuration details.
Screen 7:
Click 'Next' and a warning to delete the installation directory will appear. Once that is done (most likely using FTP client, click either the 'View Site' tab or the 'Administrator' tab to continue using Joomla!.
