J3.x:Setup a Multilingual Site/Enabling the Language Plugins
From Joomla! Documentation
< J3.x:Setup a Multilingual Site
How to setup a Multilingual Joomla! Site
Articles in this Series
- Introduction
- Step 1: Installing a new language
- Step 2: Creating a Content Language
- Step 3: Enabling the Language Plugins
- Step 4: Adding Multilingual Content
- Step 5: Creating Menus for the Multilingual Content
- Step 6: Duplicate your Template for each Language
- Step 7: Adding a Language Switcher
- Step 8: Exploring the multilingual site
Joomla! allows you to create easily a multilingual website, without having to install any third party extension. In this tutorial, you’ll find a complete walkthrough of the steps involved in creating a multilingual Joomla! site.
Step 3a - Enabling the Language Filter plugin
Joomla! comes with a language filter plugin, which enables the CMS to recognize the different installed languages and display only the content relevant to the current language.
Edit this plugin to change its settings:
- Go to Extensions → Plugins.
- Search and edit the plugin System - Language Filter.
- Switch its Status to Enabled.
- Item associations: Set to Yes. This option will allow item associations when switching from one language to another.
- Remove URL Language Code: Remove the defined URL Language Code of the Content Language that corresponds to the default site language when Search Engine Friendly URLs is set to Yes.
- Click Save & Close.
The language files are now set up properly and you’ve switched on Joomla’s built-in Language Filter. By default, this plugin will try to detect the language settings of the visitor browser and display the site in this language (if available).
Step 3b - Enabling the Language Code plugin
Joomla! comes with a built-in language code plugin, which provides the ability to change the language code in the generated HTML document to improve SEO. The fields will appear when the plugin is enabled and saved.
- Go to Extensions → Plugins.
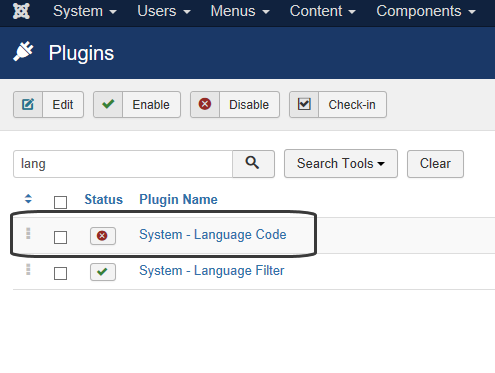
- Search the plugin System - Language Code.
- Switch its Status to Enabled.

